Introduction
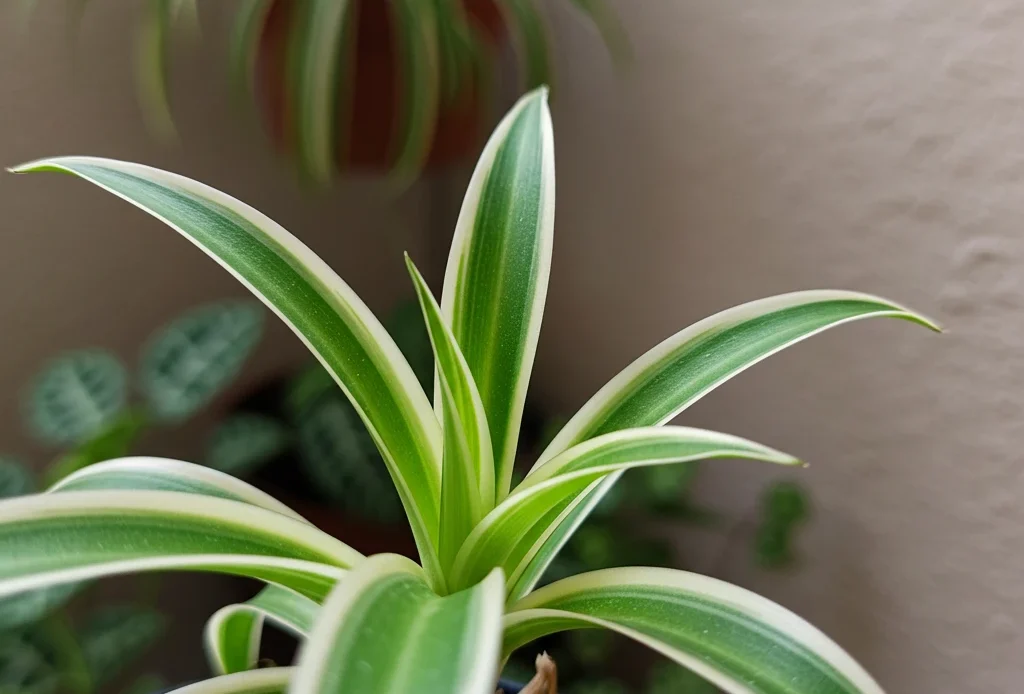
The spider plant is the gift that keeps on giving, literally! This low-maintenance, air-purifying beauty doesn’t just grow; it creates tiny, adorable “spiderettes” that are practically begging for their own pots. The best part? Spider plant propagation is ridiculously easy, cost-effective, and, oh, so rewarding. Whether you want to root your spider plant in water or plant baby spiderettes directly in soil, we’ve got you covered. Keep reading to discover the best ways to grow an army of these green beauties in no time!
Understanding Spider Plant Propagation
How Spider Plants Naturally Produce Baby Plants
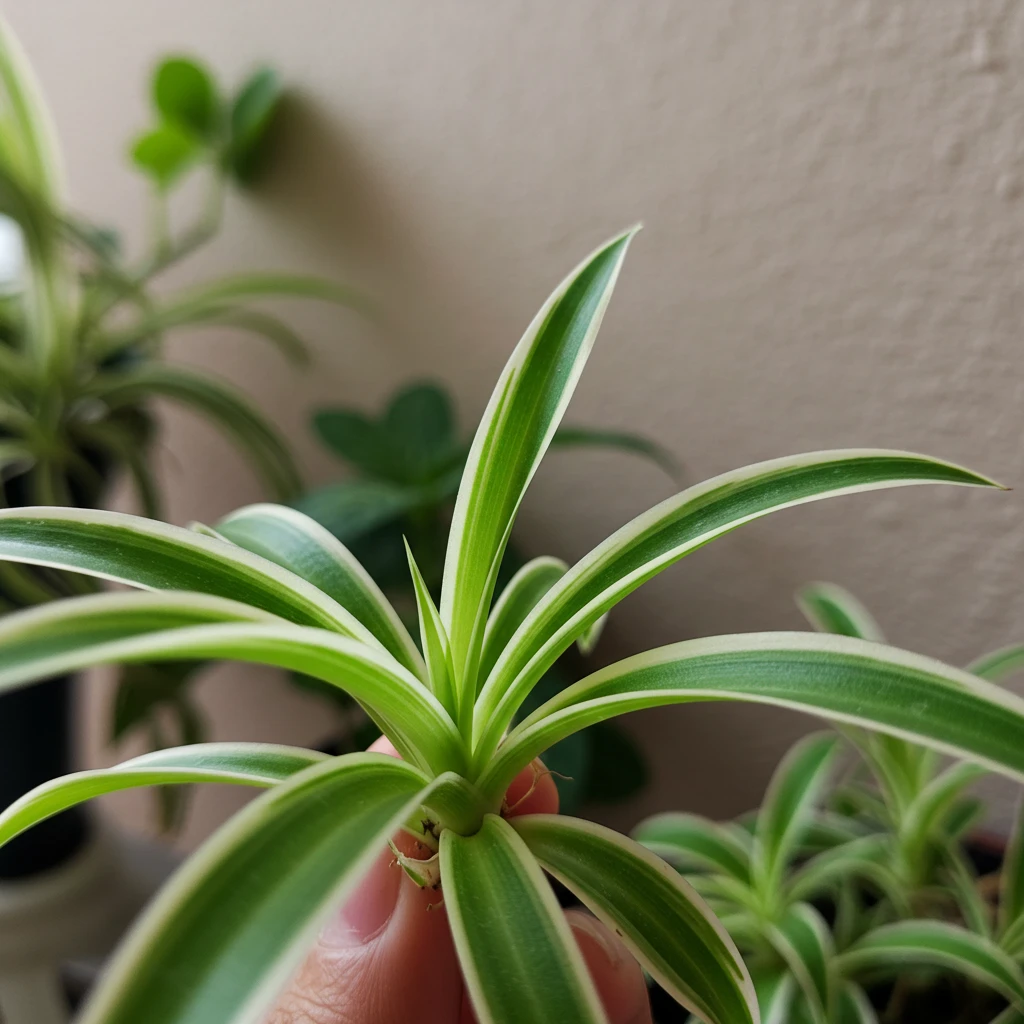
Spider plants love to show off their parenting skills! Once mature, they send out long, arching stems (called stolons) that produce tiny baby plants, or “spiderettes.” These mini plants already have the beginnings of roots, making spider plant propagation a breeze. All they need is the right conditions, and soon enough, they’ll be thriving on their own!
Best Time of Year for Propagation
Want the best results? Spring and summer are prime times for propagating spider plants in water or soil. During these months, the plant is in full growth mode, meaning your cuttings will root faster and healthier. That said, if your home is warm and bright year-round, you can propagate whenever you like!
Choosing the Right Method Based on Plant Health and Growth Stage
Not all baby plants are created equal! If your spider plant in water has long roots, it’s ready for soil. If the roots are just starting, keeping it in water for a bit longer helps. Meanwhile, for those with a large, overgrown plant, division might be the best choice. No matter the method, healthy, vibrant cuttings are key!
Essential Tools and Materials
General Tools Needed for All Propagation Methods
Before you start, gather your tools! You’ll need:
- Sharp scissors or pruning shears—to snip spiderettes cleanly.
- Small pots—for transplanting.
- Well-draining potting mix—because no one likes soggy roots.
- Spray bottle—to keep humidity levels just right.
- Gloves (optional) if you like to keep your hands dirt-free.
Specific Supplies for Water Propagation, Soil Propagation, and Division
For spider plant propagation in water, grab a clear glass or jar and some filtered water (tap water can be too harsh!). If you’re skipping water and going straight to soil, make sure you have a light, well-aerated potting mix. Planning to divide a mature plant? A clean knife or garden spade will help split those roots without damage.
Propagating Spider Plants in Water
Preparing Your Cuttings
First things first, pick the perfect spiderette! Look for baby plants with at least a few tiny root nubs forming at the base. If they’re attached to the mother plant, snip them off carefully with clean scissors. If they don’t have roots yet, don’t worry; spider plant propagation in water will take care of that soon!
Placing Cuttings in Water
Fill a clear glass or jar with fresh water (filtered is best). Place the spiderette inside, ensuring only the base touches the water. The leaves should stay dry! Pop the jar in a bright spot with indirect sunlight, and watch as roots start forming within a few days.
Caring for Water-Propagated Cuttings
Change the water every few days to keep things fresh nobody likes stale water, and your spider plant in water is no exception! You should see roots developing in about 1-2 weeks. If they’re growing strong and reaching an inch or two long, your plant is ready for its next move!
Transplanting to Soil
When your new spider baby has healthy roots, it’s time for its big move! Fill a small pot with well-draining soil, make a hole in the center, and gently place your rooted cutting inside. Cover the roots lightly, water thoroughly, and let it adjust in bright, indirect light. Before you know it, your new plant will be thriving!
Propagating Spider Plants in Soil
Not a fan of the whole “watching roots grow in water” process? No worries! Spider plant propagation works just as well straight in the soil. This method is perfect if you want your plant babies to start strong, adapt quickly, and skip the whole water-to-soil transition. Let’s dig in, literally!
Selecting the Right Pot and Soil
Spider plants aren’t picky, but they do appreciate well-draining soil and a pot with drainage holes. A lightweight mix with peat, perlite, and compost is ideal—think light, airy, and full of nutrients! As for the pot, start small; too much space can lead to soggy roots.
Planting Spiderettes Directly in Soil
Time to get your hands dirty! Gently press the baby plant into the soil, making sure its base is covered but the leaves remain above ground. Give it a little pat-down for stability and a splash of water to settle it in. That’s it, your spiderette is officially home!
Post-Planting Care
Newly potted spider plants need bright, indirect light and slightly moist soil (not too wet!). Avoid placing them in direct sunlight, which can scorch their delicate leaves. In a few weeks, they’ll establish roots and start growing like crazy!
Propagating Spider Plants Using Stolons (Runner Attachment)
Did you know that spider plant propagation can happen without ever removing the baby plant? Some spiderettes thrive best while still connected to their mother plant. This method is super easy and gives your plantlets a great head start!
Understanding Runner Propagation
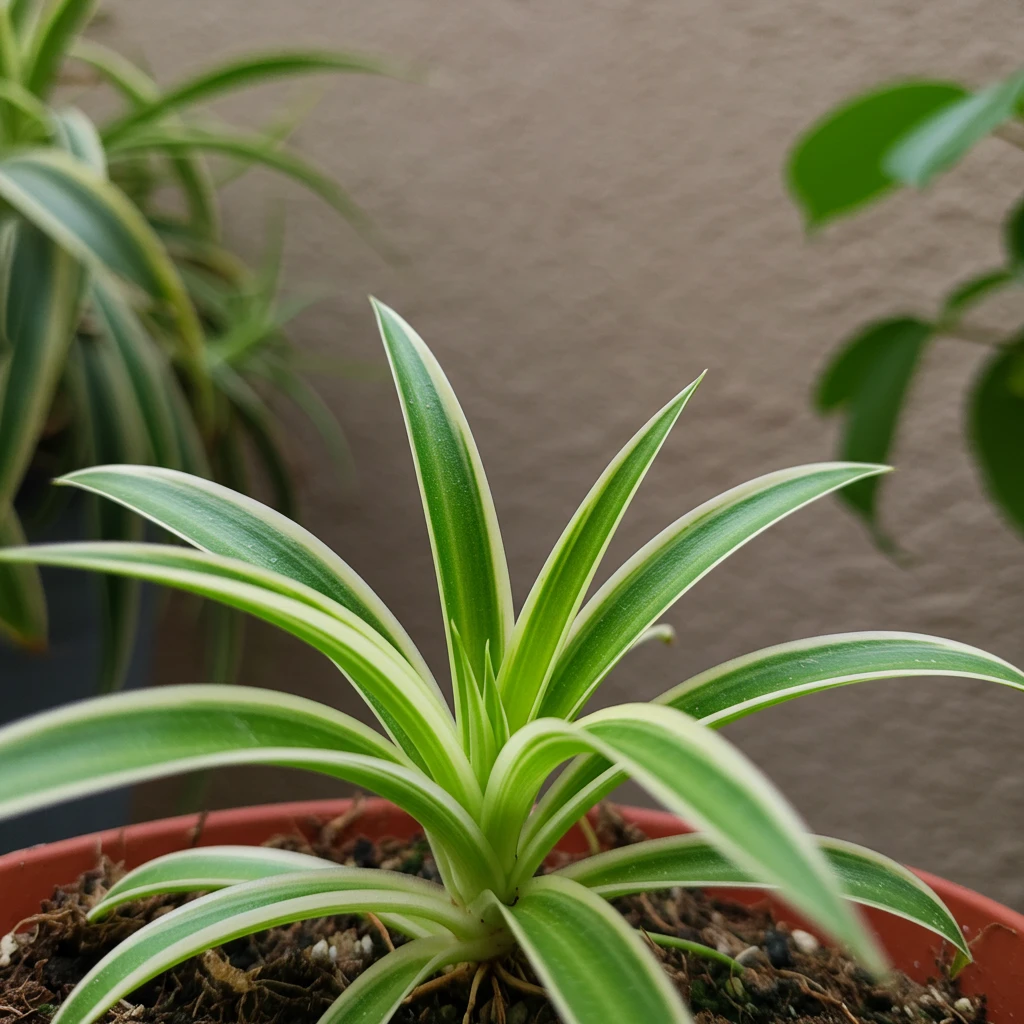
Spider plants send out long stems (stolons) that naturally grow tiny spiderettes at their tips. These baby plants already have mini root nubs, making them perfect for propagating spider plants in water or soil. Keeping them attached helps them get extra nutrients as they root.
Planting Runner-Supported Offsets
Instead of snipping the spiderette, place a small pot of soil beneath it and gently press the base into the dirt. Secure it with a paperclip or small wire to keep it in place. Water lightly and let nature do its thing!
Separating the New Plant
After a few weeks, give the baby a gentle tug if there’s resistance; roots have formed! Once the roots are strong enough, cut the stolon connecting it to the mother plant. Congrats! You’ve got an independent spider baby!
Propagating Spider Plants by Root Division
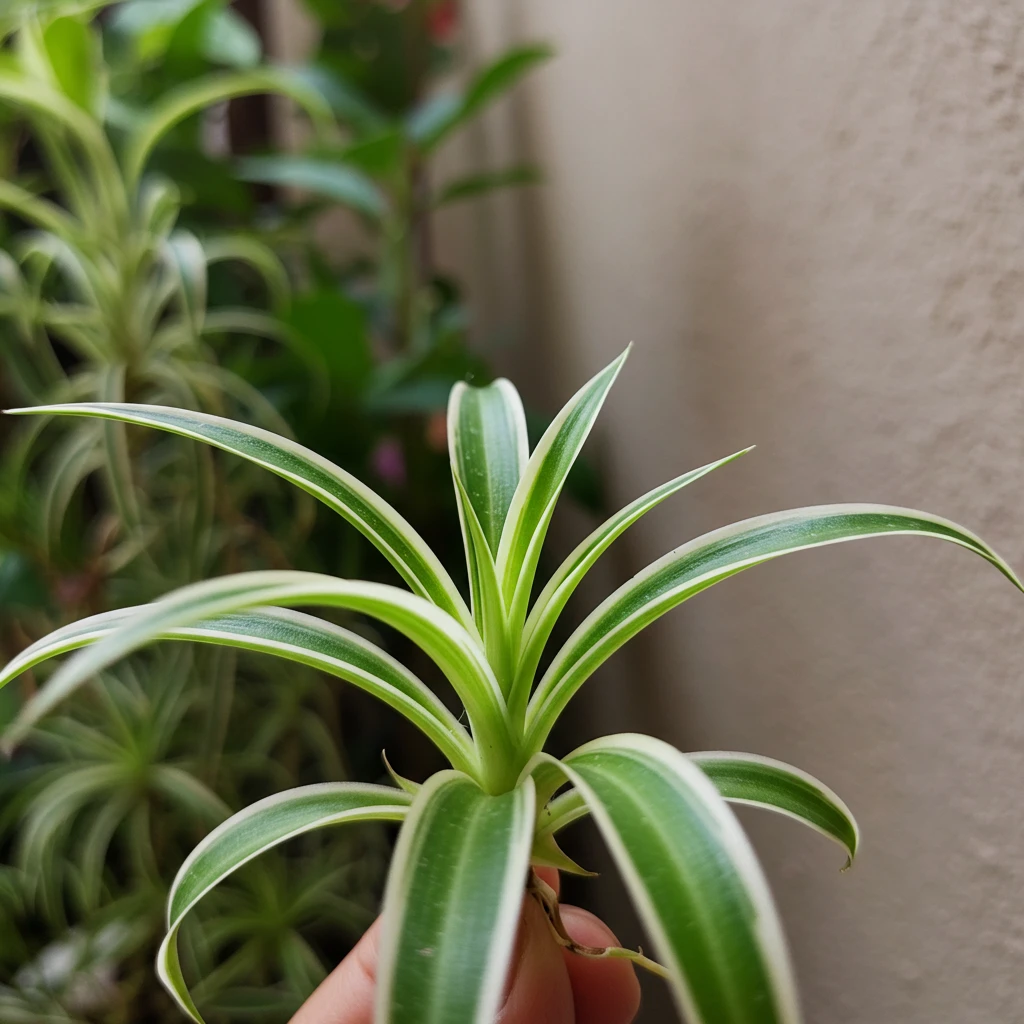
If your spider plant is overflowing with leaves and roots, it might be time for a little separation. Root division is the fastest way to multiply your spider plant collection while keeping your original plant healthy.
When to Divide a Spider Plant
The best time for spider plant propagation by division is during spring or early summer when the plant is actively growing. If your spider plant looks cramped in its pot or has outgrown its space, it’s time to give it a fresh start.
How to Separate and Replant Divisions
Gently remove the entire plant from its pot and shake off excess soil. Using your hands or a clean knife, split the root ball into sections, ensuring each has healthy leaves and roots. Replant them in fresh soil, water thoroughly, and place them in bright, indirect light.
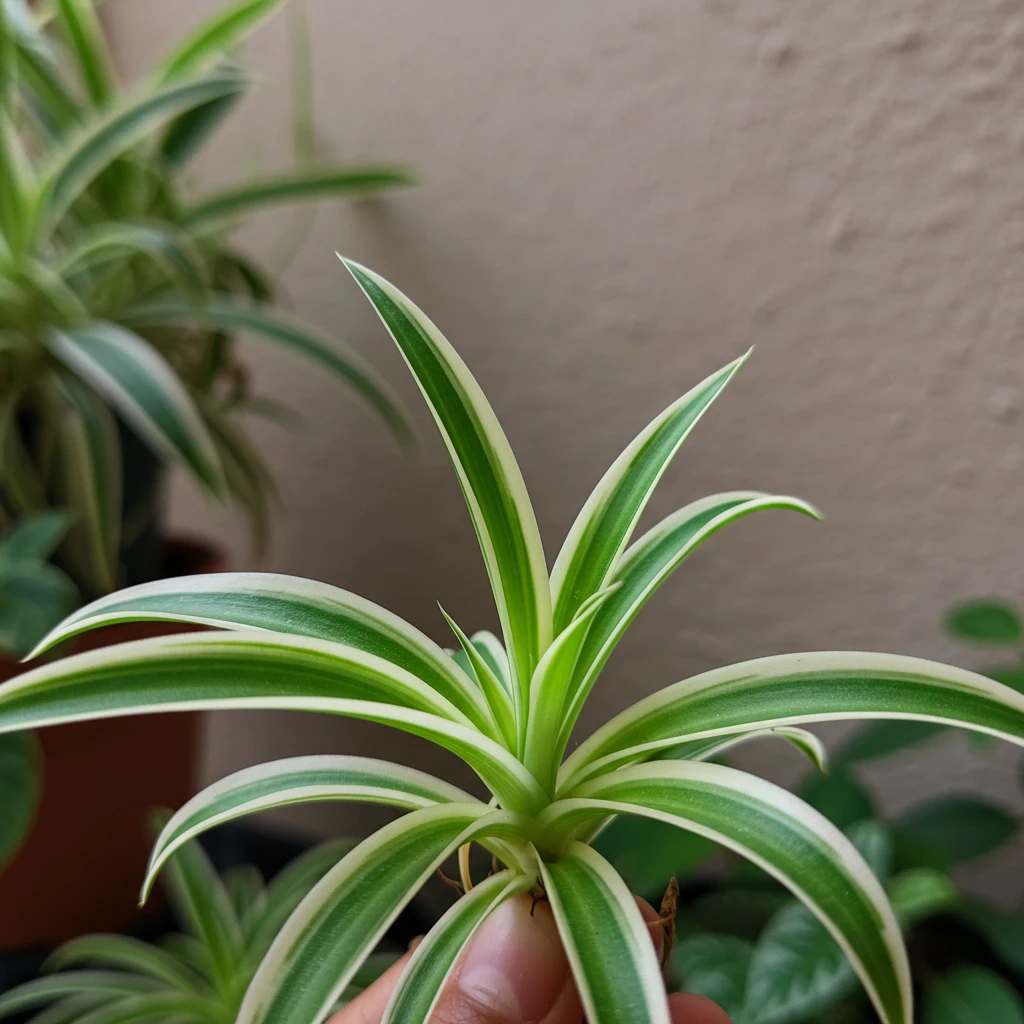
Caring for New Spider Plants
You’ve successfully propagated your spider plants, and now it’s time to give them the care they need to grow strong and healthy! Proper watering, light, and attention will ensure your new plants thrive. Let’s go over the essentials.
Watering and Light Needs for Newly Propagated Plants
Newly rooted spider plants need consistent but not excessive moisture. If you propagated your spider plant in water, slowly transition it to soil by keeping the soil evenly moist for the first few weeks. Water when the top inch of soil feels dry—overwatering leads to root rot!
For light, place your young plants in bright, indirect sunlight. Avoid harsh direct sun, which can scorch delicate leaves. A north- or east-facing window is ideal for healthy growth.
Common Mistakes and Troubleshooting (Root Rot, Slow Growth, Wilting)
Even the most experienced gardeners face challenges when propagating spider plants in water or soil. Here’s how to fix common issues:
- Root rot: usually caused by overwatering or poor drainage. Use a well-draining potting mix and ensure pots have drainage holes.
- Slow growth: If your plant isn’t growing, it may need more light or a diluted dose of liquid fertilizer.
- Wilting leaves: This can happen if the soil is too dry or if the plant is in direct sunlight. Adjust watering and move to a shadier spot if needed.
Encouraging Strong Root Development
Want to give your new plants the best start? Try these tips:
- Use well-aerated soil. Adding perlite or sand helps spider plant propagation by improving root oxygenation.
- Gradual acclimation: If your plant started in water, introduce it to soil gradually by keeping it evenly moist for a few weeks.
- Feed lightly. Once established, use a diluted liquid fertilizer every 4-6 weeks to encourage strong roots.
With the right care, your spider plant babies will grow into lush, thriving houseplants, maybe even producing their own spiderettes before you know it!
Conclusion: Grow and Enjoy!
No matter which spider plant propagation method you choose—water, soil, or stolon attachment—each one is easy, rewarding, and fun! Experiment to find your favorite, and soon, you’ll have a thriving collection of spider plants. Just remember: bright, indirect light, well-draining soil, and gentle care will keep them happy. Now go, grow, and enjoy your new leafy additions!
Check out our latest article for more insights, and follow us on Facebook for updates! And connect with us on Instagram, Pinterest, and YouTube for more inspiration!


