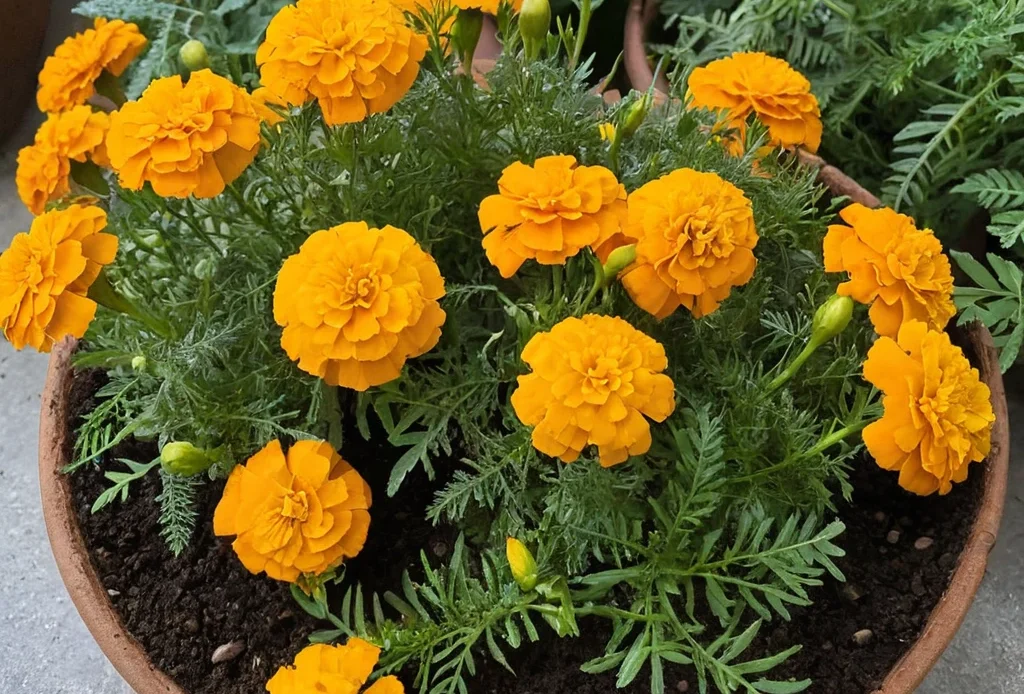
Why Marigolds Are a Gardener’s Favorite
Versatile Beauty for Any Garden Setting
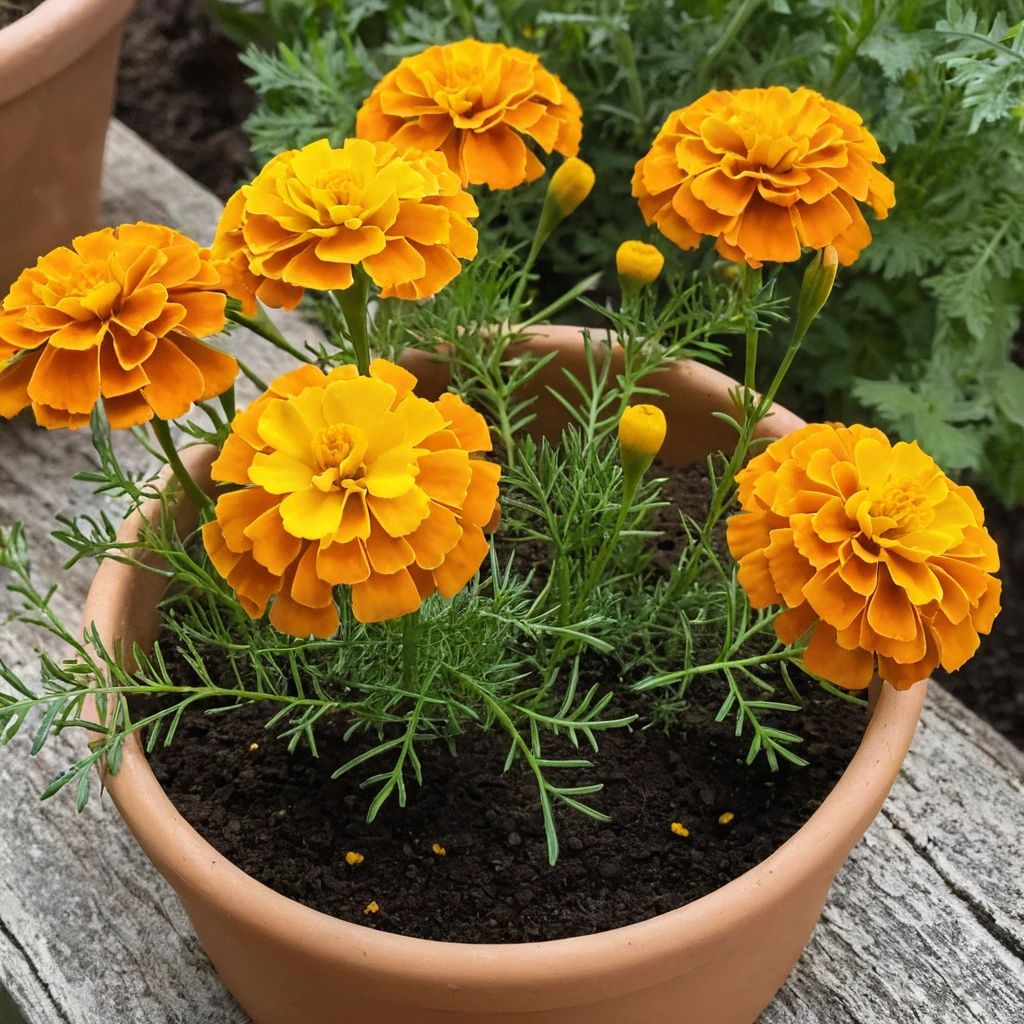
Marigolds pop with bright colors! Yellows, oranges, even deep reds. They’re tough little flowers, fitting anywhere in a garden, from flower beds to pots. These happy flowers catch the eye and make any area feel cozy and inviting. They’re simple to grow in different settings. This makes them favorites for beginners and pros alike in gardening.
Natural Pest Deterrents and Their Role in Companion Planting
Marigolds are more than just pretty. They work as natural bug-repellents! Their unique smell can actually push away nasty critters like nematodes, aphids, and whiteflies. This is great news for your tomatoes and peppers. These flowers, when placed thoughtfully, form a protective barrier around your veggies. Less chemicals, more nature, and a happier garden is the result.
Benefits of Growing Marigolds from Seed
Cost-Effectiveness Compared to Buying Seedlings
Planting marigolds from seeds saves cash while spicing up your garden with brilliant hues! One seed packet gives you tons of plants, way more than purchasing separate seedlings. This thrifty method makes marigolds perfect for budget-conscious gardeners or people wanting to cover lots of ground with a riot of color.
Greater Control Over Variety and Timing
Seed starting offers more choices. Marigold types that are hard to find or older versions are within your grasp. Plus, you get the power to decide when your marigolds bloom. Want it to match with a garden design or special occasion? It’s doable. Longing for extended flowering times or new planting timetables? It’s possible. Seed growing marigolds brings in loads of pluses. It’s cost-effective and gives room for creativity. Anyone can make a garden that’s not just pretty, but useful too.
Choosing the Right Marigold Seeds
Types of Marigolds: Which Is Best for Your Garden?
African Marigolds: Ideal for Larger Blooms and Sunny Locations
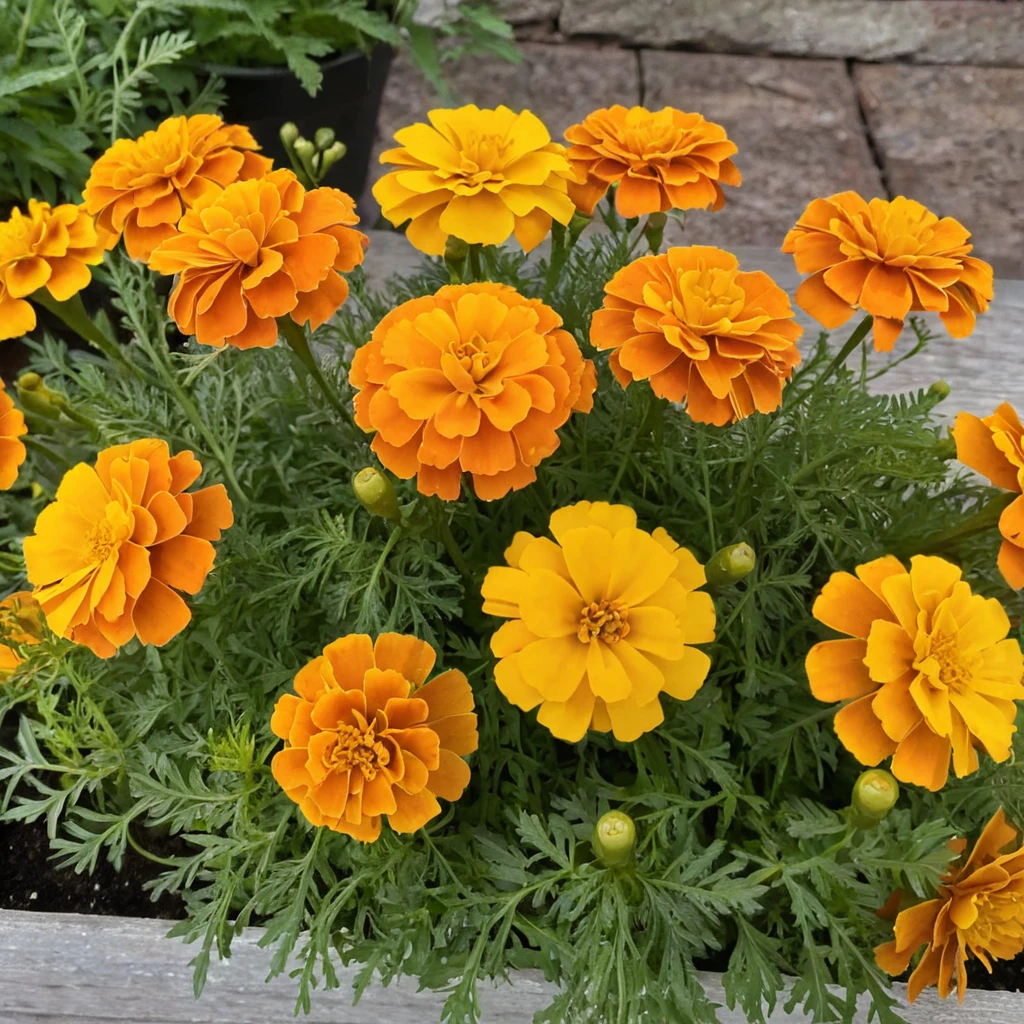
African marigolds, they’re really tall with big flowers, are top picks for those wanting impressive flowers. They love lots of sunlight and make big gardens pop with color. With orange or yellow flowers as big as 4 inches, you can pick them or show them off in your garden.
French Marigolds: Compact Plants Perfect for Borders
If you’re tight on space or prefer easy-care plants, consider French marigolds. Perfectly sized for flower beds, borders, or pots, they grow well. The flowers flaunt two-toned petals, giving them a unique charm. Known for their bug-repelling power, French marigolds are a favorite among vegetable garden growers.
Signet Marigolds: Edible and Fragrant Varieties
Thinking about marigolds that bring more than just a visual treat? Try signet marigolds. These little plants bring edible, citrusy-flavored flowers to your table, an ideal addition to salads or sweet treats! Plus, their elegant, fern-like leaves bring more beauty. Their sweet-smelling flowers invite helpful critters like bees and butterflies.
How to Source Quality Seeds
Trusted Seed Suppliers and What to Look For in a Seed Packet
Want to grow marigolds? Good seeds make the difference. Find suppliers you trust. They should offer non-GMO or heirloom seeds. This way, your seeds will most likely sprout and grow strong. What should you see on the seed packets? Plant type, how to plant, when to pick. Pick sellers who have happy customers and care about the environment.
Harvesting and Saving Seeds from Mature Plants
Collecting from your marigold brood may be a fun task! Wait until your flowers have dried while still on the plant, then gather the seed heads. You’ll discover long, pencil-thin seeds ready to be stored. Keep them somewhere chilled and dry until you’re ready to plant again. Saving your own seeds not only cuts down on garden expenses, but it also guarantees your marigolds will be around again. By picking top-notch seeds and getting them responsibly, you’re setting yourself up for success. It’s like unlocking a secret garden with vibrant marigold flowers that blossom annually.
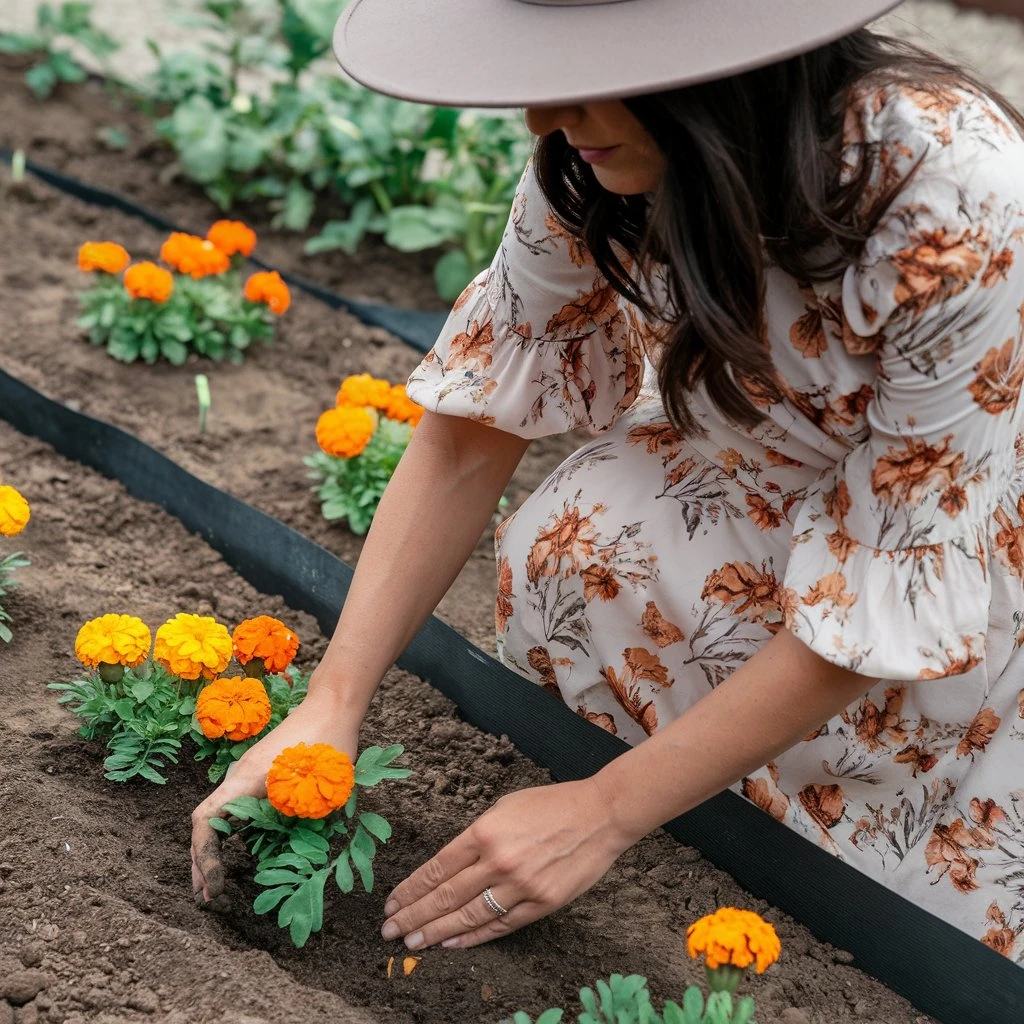
Preparing for Planting
Indoors vs. Outdoors: Determining the Best Start Date Based on Your Climate Zone
When should you plant marigold seeds? It depends on where you live. In colder places, begin inside 6–8 weeks before frost ends to get ahead of the season. But in hotter, frost-free parts of the world, you can plant outside right after it gets warm. Timing is key to helping marigolds bloom longer and beautifully.
Understanding Marigold Growth Cycles for Better Planning
Marigolds grow quite quickly. Their seeds usually sprout between 4 and 7 days. It only takes 3 to 4 weeks until they’re all set for a move to the garden. If you time things with this in mind, you’ll end up with strong plants and bright flowers. Understanding the lifecycle is key for gardeners who want to grow marigolds from seeds. It helps coordinate planting and results in a bursting, colorful garden.
Setting Up for Success: Soil and Containers
Choosing Well-Draining Soil with Nutrient-Rich Amendments
Marigolds grow best in light, easy-draining soil. It helps to add stuff like compost or old manure, it gives a boost to young plants’ growth. Stay clear of thick, clay-like soil that holds too much water. This can cause roots to rot. To encourage sprouting and growth, it’s right in the middle to prepare the soil correctly.
Best Practices for Containers and Seed Trays
When planting indoors, pick seed trays or tiny pots that have holes for drainage. The best ones are shallow for spreading water evenly. It’s important to clean your pots to avoid fungus when growing marigolds from seeds. Outside, you’ll have to get the background ready for seed planting. This involves loosening the ground and making it flat to help seeds find their way down and grow.
Seed Treatment: To Soak or Not to Soak
Pros and Cons of Pre-Soaking Marigold Seeds Before Planting
Dropping marigold seeds in water for a bit can make them sprout faster by softening their outer layer. This trick works well for folks in places where the growing season is short. But beware! Seeds left soaking too long or not planted quick can rot or mold. Experiment with soaking if you’re learning to grow marigolds from seed. You might find it speeds things up. Some gardeners, though, stick with the old-school method of planting dry seeds. It’s dependable, given the right dirt and water. So, whether to soak or not is up to you and your garden’s needs. Plan your planting, get your soil and pots ready, and think about treating your seeds. You’ll be off to a great start growing lively marigolds. This goes for all types, from tiny French ones to big African ones.
Step-by-Step Guide to Sowing Marigold Seeds
Proper Depth and Spacing for Seeds
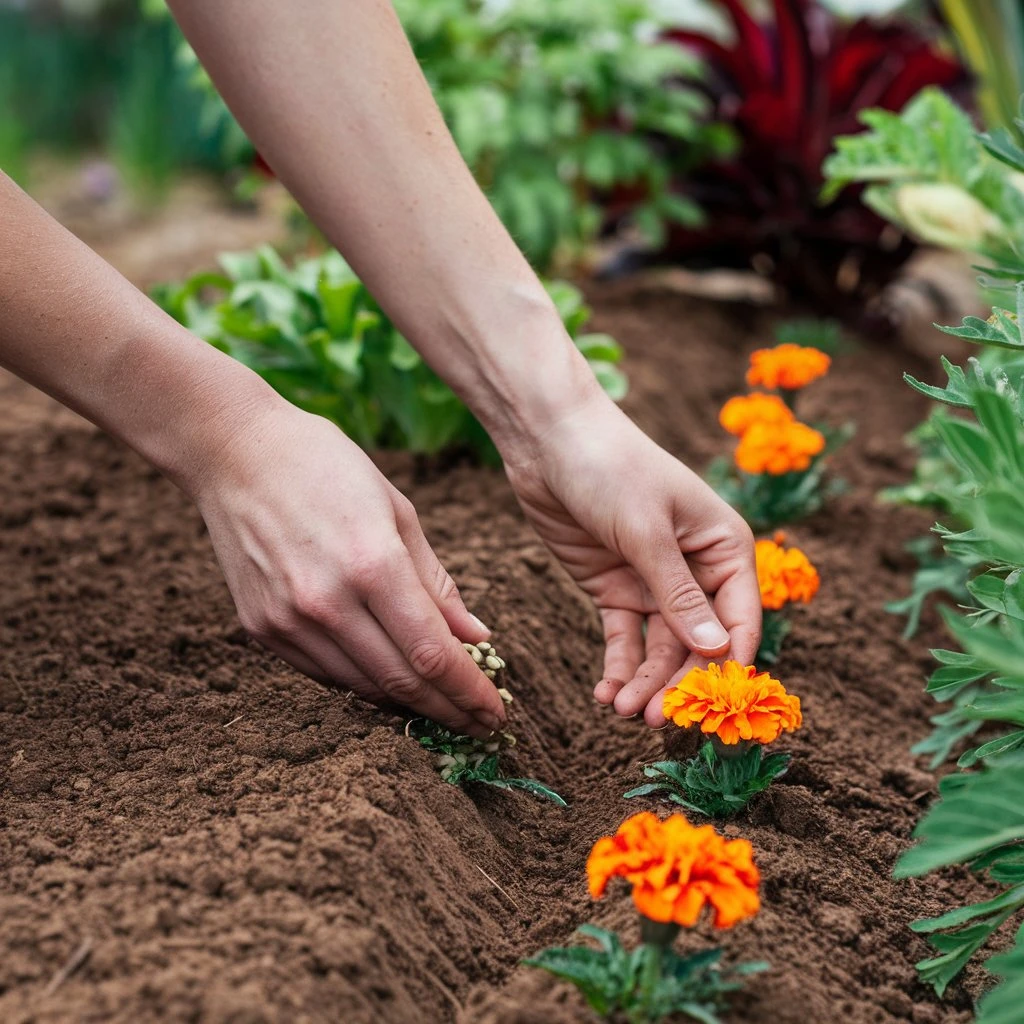
Let’s say you’re planting marigold seeds. They need careful placement for good growth. Start by tucking the seeds ¼ inch (6mm) deep. Why? The shallow depth helps little seedlings push up through the soil. Spread seeds about 1-2 inches, in the ground or trays. Doing this avoids crowding and gives each seed space to grow. Thinking of moving seedlings later? Then, lay out rows 8-12 inches apart for smaller ones, 18 inches for big fellows like African marigolds. Such spacing bolsters root growth and lush blossoms.
Best Techniques for Watering and Covering Seeds
Start by scattering the seeds, then gently cover with a sprinkling of soil or vermiculite. Don’t press the soil hard, because it may block seed growth. Mist or sprinkle water on the area carefully to prevent seed movement. Consistent dampness helps marigolds grow from seeds, but don’t drench, they don’t like too much wetness. Shields like clear plastic domes or humidity tents can keep warmth and moisture, aiding faster growth. Just make sure there’s enough air flow to stop any mold growth.
Creating the Perfect Growing Environment
Temperature and Light Requirements for Germination
Marigold seeds need warmth to grow. The soil should be 70–75°F (21–24°C). If it’s too chilly outside, start them indoors. Put the seed trays somewhere warm, like near a heater or in a proper seed station. When the seeds sprout, cool it down a bit. That makes them grow strong, not long and skinny. Light is also important for these seeds. After they sprout, make sure they get plenty of bright light, at least 6–8 hours every day. They can get this light from a window facing south or from special plant lights.
Tips for Using Grow Lights or Sunny Windowsills
Indoor planting loves grow lights. Why? They imitate ideal sunlight, quite essential in places with lots of clouds or little light. Place these lights just 2–4 inches above your little seedlings. Move the lights as the plants grow. Here’s a tip: use full-spectrum LED or fluorescent grow lights. They give balanced wavelengths that promote healthy growth. If you’d rather natural light, use a sunny windowsill. Just don’t forget to spin the trays each day so the seedlings don’t lean into the light. One more thing, keep your windowsill from going cold overnight. Those big temperature changes? The young plants don’t like them. You’ve got the rundown now on planting marigold seeds and making the perfect growing space. These tips are gonna help your blooms look ashine and your plants to thrive. Whether you’re an expert or just starting out in the gardening world, the right care at the start will make your marigold garden beautiful & sturdy.
Caring for Marigold Seedlings
Avoiding Overwatering to Prevent Root Rot
When marigolds sprout from seeds, proper watering becomes crucial. Too much water can choke roots and invite root rot–a common mistake. The soil should stay damp, not waterlogged. Let the upper layer dry a bit before adding water. This balance fosters strong root growth and keeps fungi at bay.
Frequency and Techniques for Seedling Care
Marigold sprouts usually need water every couple of days depending on their surroundings. Use a spout-slim watering can or a spritzer for steady watering without moving the soil. Aim to water them early in the day. This way, any extra water can dry up before nightfall, lowering mold or mildew risks.
Managing Light and Airflow
Ensuring Enough Sunlight to Prevent Legginess
Marigold seedlings need enough light. Without it, they’ll get stretched out or leggy. They should be in a spot that gets direct sunlight for 6-8 hours every day. If natural light isn’t abundant, full-spectrum grow lights are a good alternative. Hang the lights about 2-4 inches above the seedlings, moving them as needed. Regularly rotating their trays helps with uniform grow and keeps the stems sturdy.
The Importance of Gentle Air Circulation for Strong Stems
Seedlings benefit unexpectedly from the air around us. Just as a breeze outside makes plants stronger, so does a soft fan indoors. Put a small fan away from the seedlings so it doesn’t hit them too hard. This keeps sickness and mold at bay while turning your seedlings into sturdy outdoor-ready plants.
When and How to Transplant
Hardening Off Seedlings for Outdoor Planting
Getting marigold seedlings ready for outdoor transplanting is important. It’s like training them for a new lifestyle. Start off easy, partial shade, for one to two hours per day. It’s their first time outside! Gradually crank it up, more sun and breeze, over a span of a week or ten days. This can ease the stress of moving, and helps them adapt to their new outdoor home.
Spacing Recommendations for Healthy Growth
Put seedlings in their last spot using the right spacing for growth. If you’re planting small ones like French marigolds, there should be 8-10 inches between each. The bigger African marigolds need more room, about 12-18 inches apart. Putting them at the right distance helps avoid fighting over food, keeps the air flowing, and stops too many plants crowding together which can attract bugs and disease. Stick to this marigold planting plan and you’ll grow strong seedlings. Paying attention now means later you’ll enjoy a bunch of bright, long-lasting marigolds in your garden.
Troubleshooting Common Issues
Addressing Common Issues Like Poor Soil or Insufficient Moisture
It can be annoying when marigold seeds don’t sprout. Lousy dirt is often to blame. The seeds need soil that drains well and is packed with nutrients. It must be finely mixed to make it easy for roots to work through. Overly packed or too moist dirt can mess up the sprouting. The seeds need water but not too much. Spraying the dirt lightly with a spray bottle keeps seeds damp but not swamped. Temperature is vital, too. Marigold seeds sprout well in dirt that’s between 70–75°F. If your dirt is too frigid or too burning, sprouting could delay or fail. In colder areas, a heat mat used for sprouting seeds can help manage temperature.
Signs of Non-Viable Seeds
At times, the problem could be with the seeds. Old seeds or ones not stored properly lose their life power. Want to check if your seeds can grow before planting marigolds? Place some on a wet paper towel. Fold the towel and put it in a plastic bag. Store this bag in a warm place. After 5-7 days, see if sprouts appear. If nothing sprouts, it means you need new seeds.
Managing Fungal Problems and Pests Like Aphids
Marigolds are sturdy for the most part, yet pests and illnesses can still affect them. Fungus-related issues, like damping-off disease, can hit seedlings hard. In this disease, seedlings wilt from the bottom due to too much water or lack of air flow. You can keep this away by using clean soil and making sure there’s enough air movement about the young plants. Bugs such as aphids might pick on marigolds, affecting the young ones and leading to their underdevelopment. Do check leaf undersides often as these nuisances like to hide there. When the leaves begin to curl or turn yellow, it could mean trouble.
Natural Remedies and Prevention Strategies
Use a sprinkle of cinnamon on the soil to tackle fungal problems – it’s a proven earth-friendly fungicide. To deal with aphids and other squishy bugs, try using sprays made from neem oil. Inviting ladybugs into your garden naturally keeps aphids in check. Stay ahead of diseases and bugs by keeping the area around your marigolds clean; get rid of waste, dead leaves, and unwanted plants. It’s also smart to switch up where you plant each year to stop stubborn diseases. Meeting these hurdles head-on will help your marigolds thrive, producing bright blossoms that make the hard work worth it. Being aware of possible problems early on makes your marigold growing journey easier and more rewarding.
Enjoying Your Marigolds
Deadheading Techniques to Prolong Flowering
Keeping your marigolds bright and lively for a longer time can be as simple as regular deadheading. What’s deadheading? It’s just removing faded or drooped flowers from a plant. When you snip off these spent blossoms, you’ll guide your plant to use its strength for making new flowers rather than seed formation. For deadheading marigolds, a sharp pair of scissors or pruning shears will do the job. Cut the flowers right above the initial set of strong leaves. Also remember to get rid of any stems showing symptoms of illness or injury. Continue this deadheading routine all through the marigold’s growing season. This will ensure they stay vibrant and vigorous for an extended time, filling your garden with color and vitality.
Fertilizer Tips for Vibrant and Healthy Plants
Marigolds are easy-going flowers, but every now and then they enjoy a little extra food to stay bright. When you grow marigolds from tiny seeds, you can end up with big, healthy plants. They really like it if you give them some fertilizer, especially if the earth around them doesn’t have a lot of natural food. You want a balanced mix of nitrogen, phosphorus, and potassium for these sparky blooms. What should you use? Maybe a slow-release granular fertilizer or some liquid plant food. Give it to them every so often during their growing season, roughly every 4 to 6 weeks. Marigolds are on the acidic side, so choose a fertilizer that keeps this balance. Be careful though! Too much fertilizer can cause a lot of leafy growth and not many flowers. So remember, a little goes a long way!
Creative Ways to Use Marigolds
Arranging Marigolds in Bouquets and Décor
Marigolds top the list for garden lovers, thanks to their stunning looks and use in many floral designs. Imagine the brilliant shades of marigolds, from rich oranges to sunny yellows. Perfect for designing eye-catching bouquets. Use them to draw attention to a simple flower design or to be the highlight of a display. Want a country feel? Pair marigold guide flowers with other vivid, seasonal flowers like zinnias or sunflowers. Prefer a sleeker design? Let their deep, lush colors stand out. Planning a big gathering? Include them in your decorations, think wreaths, centerpieces on tables, or long decorative chains. Don’t forget their scent, it adds an extra sensory experience.
Culinary and Medicinal Uses for Certain Varieties
Marigolds are not just attractive flowers. Their worth goes beyond looks, they’ve been cherished for their culinary and medicinal benefits for ages, especially the Tagetes species. You can actually eat marigold petals! Try them in sweet and savory dishes or toss them in salads and soups. They add a pop of color and a hint of spicy flavor. Enjoy them in herbal teas too, where they add a calming, floral touch. Moving from culinary, let’s talk about marigold’s medicinal uses. Known for their anti-inflammatory, antimicrobial, and antioxidant virtues, people have used them in herbal medicine for ages. Marigold-infused oils and creams have made their way into skincare products. They’re great at calming irked skin, treating small cuts, bruises, or skin rashes. Starting marigolds from a seed? Having those plants in your garden beautifies your space while offering you a sustainable source of these useful flowers. Use them in your kitchen, or for their medicinal properties. The benefits of these plants stretch far beyond their sheer beauty. Caring for your marigolds thoughtfully and using them creatively equals a beautiful garden bursting with color and scent. Plus, you’ll get practical returns for your efforts.
Celebrate Your Marigold Success
Reflect on the Joys of Nurturing Plants from Seed
Planting marigolds from seeds feels rewarding. You watch a little seed turn into a bright, healthy plant. This deepens your bond with nature and makes gardening more enjoyable. From the first green sprout to the bold flowers in your yard, raising marigolds is satisfying. Each plant is more than a decoration. It’s a sign of the time, effort, and patience you put into it. Whether in borders, pots, or beds, marigolds brighten any garden with their lively colors and zest. Looking at your plants and their growth, from seed to flower, makes any gardener feel good.
Encouragement to Experiment with New Varieties Next Season
Think about your blossoming marigold seeds. Now, imagine trying new kinds. Marigolds have many types to explore. There are tiny, bright French marigolds or tall, bold African marigolds. Different types can fit different gardens. New marigold types can make your garden exciting! It lets you find new colors and plant styles. A new flower shape, color, or growth pattern can change your garden. Each marigold type brings a new adventure.
Tips for Saving Seeds for Next Year
Step-by-Step Guide to Collecting, Drying, and Storing Seeds
Imagine the thrill you’d feel when you grow marigolds from a tiny seed you planted. Now, think about capturing those seeds from your mature plants for another round. It’s cost-effective and guarantees a flow of stunning marigolds. Let’s dive into an easy sequence on how to gather, dry, and keep those precious marigold seeds for the upcoming year:
- Let the Blooms Grow Fully: The beginning stage of seed preservation involves letting the marigold blossoms grow to their full extent. When the petals start to become dry and separate, the seed heads remain. It’s clear the seeds are ready to be collected at this point..
- Collect the Seeds: Carefully snip off the old flower heads from the plant. Let them air out in a roomy, nicely aired spot for some days so the seeds can be bone dry. After they’re dry, you can pull the seed heads apart! This’ll let you get the seeds out.
- Seed Cleaning: Once you’ve taken out the seeds, gently get rid of any leftover bits of the flower. You can use a thin net or simply roll the seeds between your fingers to clear away anything unwanted..
- Get Those Seeds Scorching Dry: Spread ‘em out on a neat place, a paper towel maybe. Let them sit there for a chock-full of days. You’ve gotta make sure those seeds are bone dry. That’s essential for them to last long. Even a teensy bit of dampness can bring about mold or mildew when you store them.
- Handle the Seeds Right: When the seeds are all dried up, keep them somewhere cool and dry. A closed container or a locked envelope is best. Do remember to scribble the type and the collection date on your storage box. Put your seeds somewhere dim, like a drawer or a cabinet, shield them from light – it might lower their chances of growing.
When you save marigold seeds, you feel good about reseeding your garden every year. Plus, you’re gardening sustainably. Try growing different kinds. Watch them grow. Sharpen your gardening skills.
Wrapping up, raising marigolds from seed brings joy and value. It gives you stunning flowers and usefulness. As you note your gardening wins, keep in mind to give new types a go next season. Continue the cycle by storing your marigold seeds for the coming generations. Enjoy your gardening!
Check out our latest article for more insights, and follow us on Facebook for updates! and connect with us on Instagram, Pinterest, and YouTube for more inspiration!
By Mark


