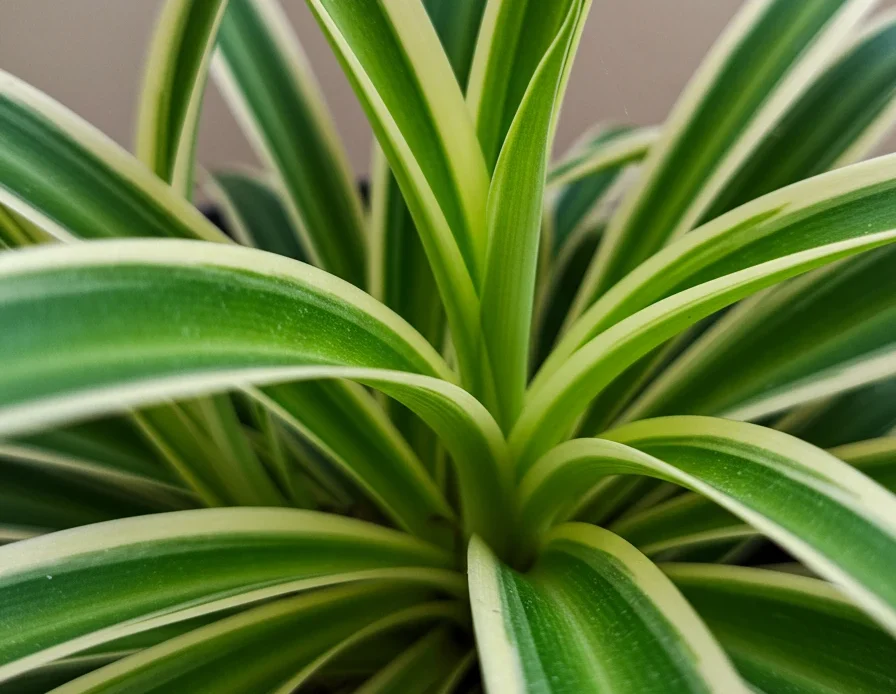
If you’re looking for a plant that thrives on neglect, purifies your air, and throws out baby plants like it’s hosting a giveaway say hello to the spider plant (Chlorophytum comosum)! This leafy superstar is one of the easiest houseplants to care for, making it perfect for beginners and seasoned plant lovers alike.
But don’t let its low-maintenance reputation fool you there’s a right way and a wrong way to care for a spider plant. Get it right, and you’ll have a cascading, vibrant plant that looks like it belongs in a rainforest. Get it wrong, and, well… let’s just say you don’t want crispy, brown-tipped leaves ruining the vibe.
In this guide, we’ll cover everything you need to know about spider plant care from the best lighting and watering routine to propagation tricks that will turn one plant into an entire jungle. Keep reading, because we’re about to make you a spider plant pro!
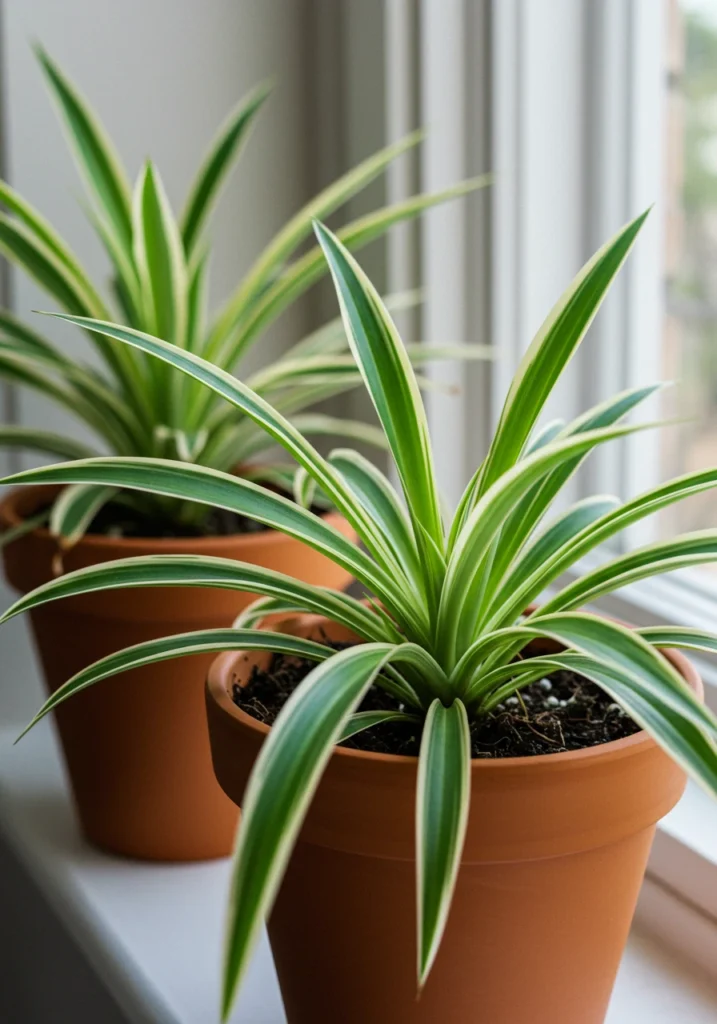
Essential Spider Plant Care Tips
Spider plants are tough, but if you want yours to flourish rather than just survive, you need to nail the basics. Light plays a huge role in keeping those arching green-and-white leaves vibrant. Let’s break down what your spider plant really needs when it comes to lighting.
Best Lighting Conditions for Optimal Growth
Spider plants love bright, indirect light think near a sunny window but out of the direct path of harsh midday rays. East- or west-facing windows are perfect, giving just the right balance of light intensity. If you want fuller, faster growth, provide at least 6–8 hours of gentle daylight every day.
Can Spider Plants Tolerate Low Light?
Yes, but with a catch! While spider plants can survive in low-light corners, they won’t thrive. Their signature stripes may fade, and growth will slow significantly. If natural light is scarce, consider a full-spectrum LED grow light to keep your plant looking lush.
Signs of Too Much or Too Little Light
Too much light? Leaves turn pale, curl, or develop crispy brown edges. Move your plant away from direct sun.
Too little light? Growth becomes slow, and the leaves lose their vibrant color. Shift it closer to a window or supplement with artificial light.
Choosing the Right Soil
Think of soil as the foundation of your spider plant’s success get it right, and your plant will thrive with strong roots and lush leaves. The key? A mix that drains well while still holding enough moisture to keep your plant happy. Let’s break it down!
Ideal Soil Mix for Drainage and Aeration
Spider plants hate soggy roots, so your soil needs to drain fast while staying lightly moist. The best mix? A well-draining potting soil with added materials like sand, bark, or perlite for aeration. Avoid heavy garden soil it compacts too much and can lead to root rot.
Should You Add Perlite or Compost?
Yes, but in the right balance! Perlite keeps the soil light and airy, preventing overwatering disasters. Compost, on the other hand, adds organic nutrients, giving your plant an extra growth boost. A mix of 70% potting soil, 20% perlite, and 10% compost creates the perfect growing environment.
Watering Needs
Watering a spider plant is all about balance too much and you risk root rot, too little and the leaves crisp up. The key is keeping the soil lightly moist without drowning the roots. Let’s dive into the best watering practices to keep your plant thriving.
How Often to Water Your Spider Plant
Spider plants like a moderate watering schedule typically once a week in warmer months and every 10–14 days in cooler seasons. Always check the top inch of soil before watering; if it feels dry, it’s time for a drink. Using filtered or dechlorinated water prevents leaf tip browning caused by chemicals in tap water.
Signs of Overwatering and Underwatering
Overwatering: Yellowing leaves, soggy soil, and a musty smell indicate excess moisture, which can lead to root rot. Underwatering: Leaves curl, turn brown at the edges, and feel dry or brittle. If you’re unsure, err on the side of underwatering spider plants recover faster from drought than drowning!
Importance of Consistent Watering
Inconsistent watering leads to stress too much fluctuation between dry and soaked soil can weaken the plant. A routine schedule keeps growth steady and prevents shock. Stick to a regular watering day and adjust based on humidity levels and the season. Using a self-watering pot or moisture meter can help maintain ideal conditions.
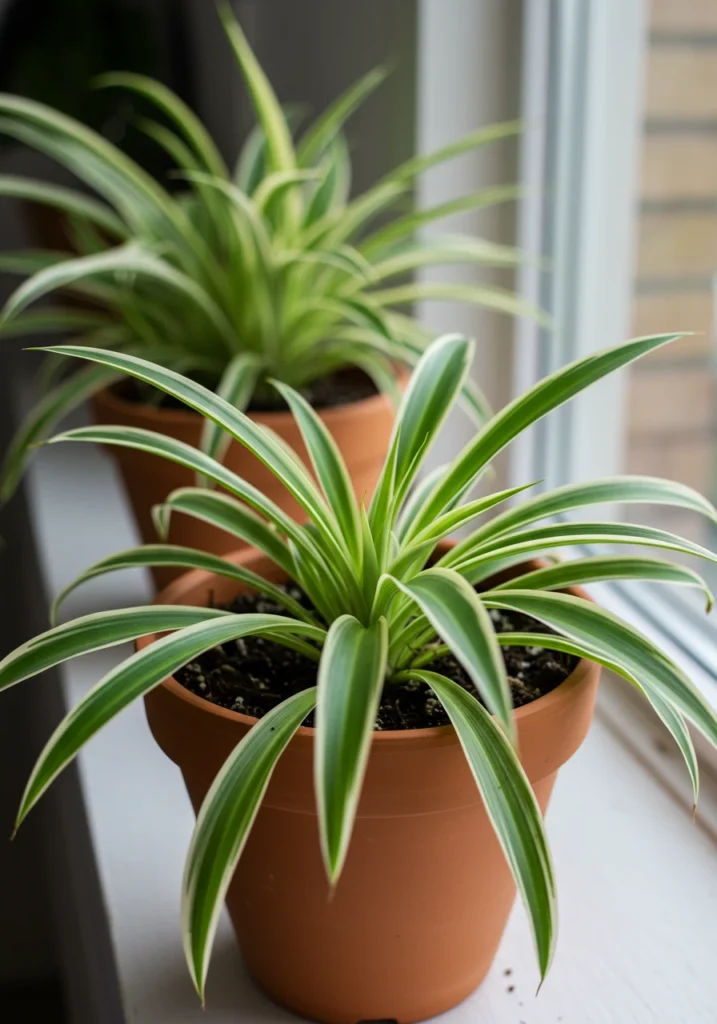
Temperature & Humidity Preferences
Spider plants are tropical at heart, meaning they love warmth and moderate humidity. While they can handle a range of conditions, keeping them in their ideal climate ensures lush, vibrant growth. Let’s break down what temperatures and humidity levels work best.
Ideal Temperature Range for Healthy Growth
Spider plants thrive in temperatures between 65–75°F (18–24°C) comfortable for both you and your plant! They can tolerate occasional dips down to 50°F (10°C), but prolonged cold exposure can stunt growth. Keep them away from drafts, AC vents, and sudden temperature changes to avoid stress.
How Humidity Affects Spider Plants
While spider plants adapt to average indoor humidity, they prefer a slight boost especially in dry environments. Low humidity can cause brown leaf tips, while high humidity encourages lush growth. If your home is dry, occasional misting or a nearby humidity tray can keep your plant happy.
Adapting Care Based on Seasonal Changes
In summer, spider plants grow actively and may need more frequent watering as heat and sunlight increase evaporation. In winter, growth slows, so reduce watering and keep them away from cold drafts. If indoor heating makes the air dry, use a humidifier to prevent crispy leaves.
Fertilizing Your Spider Plant
Spider plants aren’t heavy feeders, but a little nutrient boost can take them from just surviving to thriving. The right fertilizer at the right time keeps those long, arching leaves vibrant and encourages fast, healthy growth. Let’s break down exactly what your plant needs!
Best Fertilizers to Use
A balanced, water-soluble fertilizer with an NPK ratio of 10-10-10 or 20-20-20 works best. Organic options like liquid seaweed, worm castings, or compost tea also provide a gentle nutrient boost. Avoid fertilizers high in fluoride or chlorine, as these can lead to brown leaf tips.
How Often to Fertilize for Optimal Growth
Feed your spider plant once a month during the spring and summer when it’s actively growing. In fall and winter, scale back or stop fertilizing entirely—overfeeding during dormancy can cause weak, leggy growth. Always dilute liquid fertilizers to half strength to avoid burning the roots.
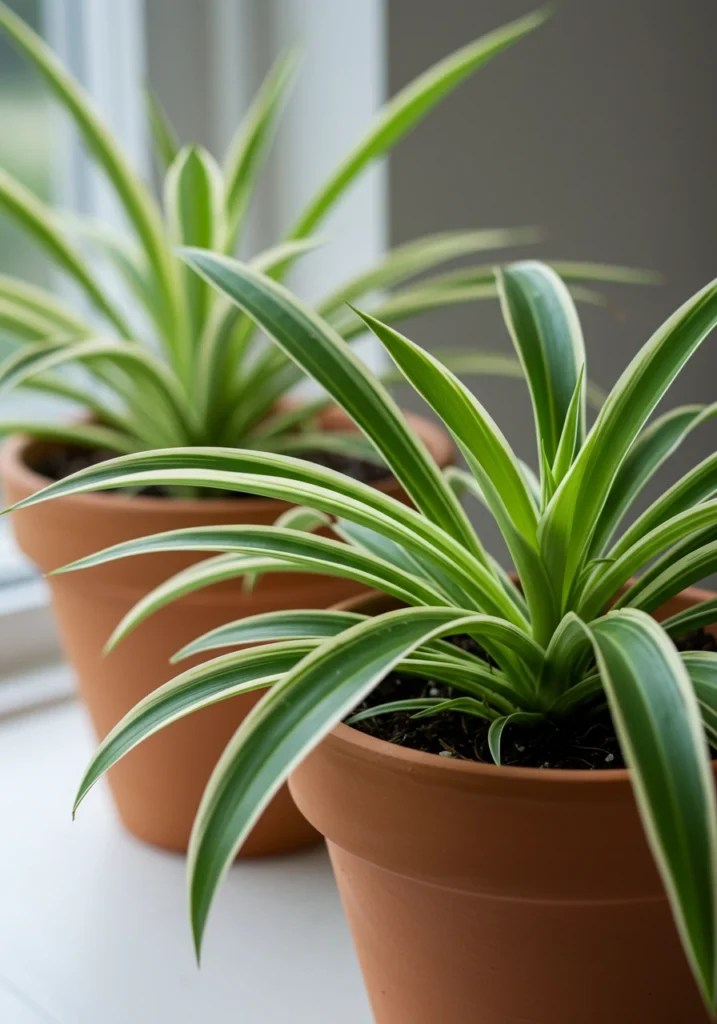
Growing and Maintaining a Healthy Spider Plant
A thriving Chlorophytum spider plant isn’t just about how often to water a spider plant it also needs the right pruning and care to stay lush. Proper maintenance keeps your plant looking full, healthy, and free from dead or damaged leaves. Let’s dive into how to keep your spider plant in top shape!
How and When to Prune Your Spider Plant
Pruning keeps your spider plant neat and encourages fresh growth. Trim brown or yellowing leaves as soon as they appear to prevent wasted energy. If your plant is getting too long or wild, cut back leggy stems in spring or early summer for a fresh start. Always use sharp, clean scissors and snip at the base of the leaf to avoid damaging healthy parts.
Encouraging Bushier Growth
Want a fuller, more vibrant Chlorophytum spider plant? Regular pruning and proper spider plant care encourage dense foliage. Keeping offshoots (baby spider plants) attached for longer helps strengthen the mother plant. Along with pruning, focus on how often to water spider plant a consistent schedule keeps leaves firm and perky instead of limp or sparse.
Propagation: Growing New Spider Plants
One of the best things about Chlorophytum spider plant care is how effortlessly these plants multiply. Those little offshoots also called spiderettes are nature’s way of saying, “Here, have another plant… and another!” With the right technique, you can grow endless spider plants for your home or to share with friends.
The Easiest Way to Propagate Spider Plant Babies
Spider plant propagation is as easy as snipping and planting. Find a healthy spiderette with visible roots and either plant it directly in soil or place it in a jar of water until the roots develop further. If you’re unsure how often to water spider plant babies, treat them like mature plants keeping the soil slightly moist but never soggy.
Tips for Successful Propagation
For best results, let the baby plant stay attached to the mother plant while it starts forming roots, then cut it off once it’s strong enough. Use light, well-draining soil, and place new plants in bright, indirect light. Knowing how often to water a spider plant is key overwatering can cause rot, while underwatering can slow growth. Keep the balance, and you’ll have a thriving new plant in no time!
Growing Spider Plants from Seeds
Growing a Chlorophytum spider plant from seed takes patience, but it’s a fun way to cultivate your own plant from scratch. While most people propagate spiderettes, seeds offer a unique challenge for plant lovers. Let’s explore how to collect, plant, and successfully grow spider plants from seeds!
How to Collect and Plant Seeds
Spider plants produce small, black seeds inside dried flower pods after blooming. Once the pods turn brown, gently break them open and collect the seeds. Plant them in light, well-draining soil, keeping the surface evenly moist but not soggy. If you’re unsure how often to water a spider plant from seed, aim for daily misting to maintain humidity.
Germination Timeline and Best Practices
Spider plant seeds take 2–4 weeks to germinate, depending on temperature and moisture levels. Keep them in warm (70–75°F / 21–24°C), indirect light to encourage growth. Once seedlings sprout, reduce watering slightly and follow standard Chlorophytum spider plant care for best results.
Potting and Repotting Spider Plants
Spider plants grow fast, and before you know it, their roots outgrow their pots! Repotting is essential to prevent root-bound plants and keep growth healthy. Here’s how to know when and how to repot your spider plant for optimal growth.
When to Repot Your Plant
If roots start poking through the drainage holes or the soil dries out too quickly, it’s time to repot! Generally, repotting is needed every 1–2 years, especially in spring when growth is most active. After repotting, be mindful of how often to water spider plant to prevent shock watering lightly at first helps the roots settle in.
Choosing the Right Pot Size and Material
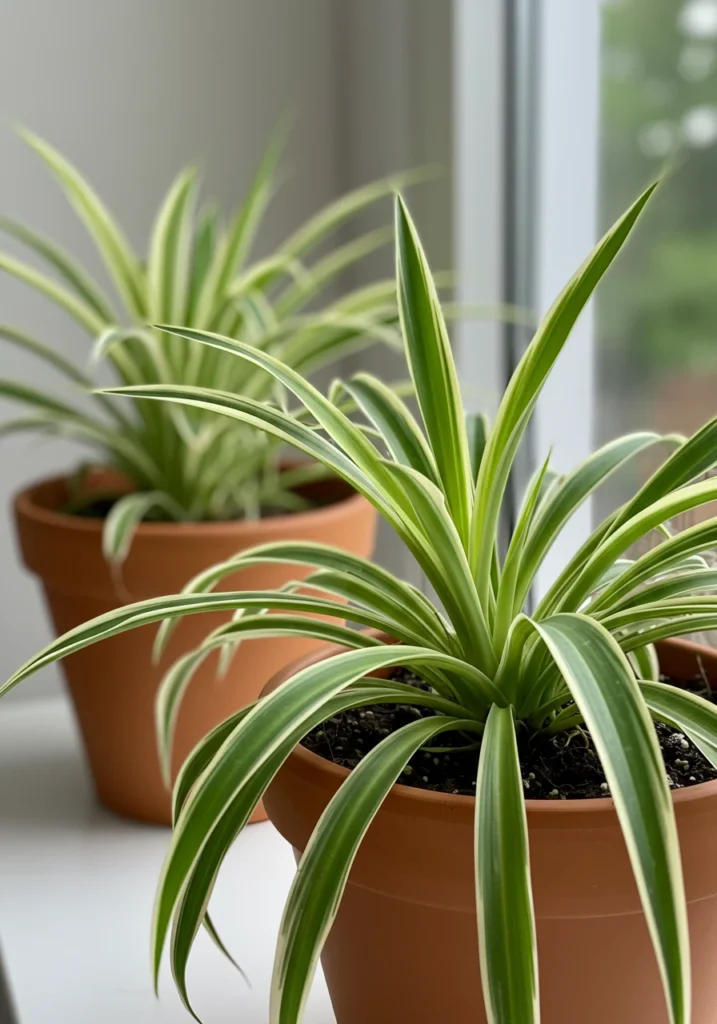
Pick a pot that’s 1–2 inches larger than the current one to allow room for growth. Terra cotta pots are great for preventing overwatering, while plastic pots retain more moisture—perfect if you often forget how often to water a spider plant. Always choose a pot with good drainage holes to keep your spider plant’s roots healthy and happy!
Common Issues and Troubleshooting
Even with the best Chlorophytum spider plant care, occasional issues can pop up. Whether it’s unwelcome pests or leaf problems, knowing how to troubleshoot early keeps your plant healthy. Let’s tackle the most common concerns and how to fix them!
Common Pests That Affect Spider Plants
Spider plants are generally resilient, but pests like spider mites, aphids, and mealybugs can still make an appearance. Signs of an infestation include sticky leaves, tiny webs, or white cotton-like clusters. These pests thrive in dry conditions, so keeping proper humidity can help prevent them.
Natural and Chemical Treatments
For a natural fix, rinse leaves with lukewarm water or use a spray of neem oil and mild soap. For stubborn infestations, an insecticidal soap or diluted rubbing alcohol on a cotton swab can remove pests. Always check new plants before bringing them indoors to avoid infestations!
Common Problems & Solutions
If your spider plant isn’t looking its best, don’t panic! A few small tweaks in lighting, watering, or humidity can make a big difference. Let’s break down why your plant might be struggling and how to fix it.
Why Is My Spider Plant Sparse?
A sparse Chlorophytum spider plant usually means it needs more light or a bigger pot. While they tolerate low light, brighter indirect light helps them grow fuller. Also, check how often to water spider plant overwatering or underwatering can slow down growth.
How to Fix Browning Leaves and Leaf Burn
Browning leaf tips often come from tap water chemicals, dry air, or over-fertilizing. If possible, use filtered or distilled water and avoid excessive feeding. If leaf tips are crispy, mist occasionally or move your plant away from direct sun and heating vents.
Final Thoughts
Caring for a Chlorophytum spider plant is simple and rewarding! With the right light, watering, and occasional pruning, your plant will thrive. Just remember how often to water a spider plant and keep an eye on common issues. Now, enjoy your lush, happy spider plant!
FAQ
Ideal placement for a spider plant?
Spider plants thrive in bright, indirect light but can tolerate low light conditions. Avoid direct sunlight, which can scorch the leaves, and place them in a well-ventilated area with moderate humidity. A windowsill with filtered light or a hanging basket in a bright room is ideal.
How to keep a spider plant thriving?
Maintain a consistent watering schedule, allowing the soil to dry slightly between waterings to prevent root rot. Provide well-draining soil, occasional fertilization, and keep the plant in temperatures between 65–75°F (18–24°C). Regular pruning and repotting when root-bound will encourage healthy growth.
Trim brown tips or leave them?
Brown tips can be trimmed for aesthetic purposes, but they do not harm the plant. Use sharp, clean scissors to cut just above the green part of the leaf. If browning persists, consider switching to filtered water and increasing humidity.
Should you detach spider plant babies?
You can leave spider plant babies attached for a fuller look or detach them for propagation. If removed, plant them in moist soil or water until roots develop. Detaching helps the parent plant conserve energy and encourages new growth.
Ways to promote fuller spider plant growth?
Provide bright, indirect light and ensure the plant is in a pot large enough for root expansion. Regularly prune leggy stems, remove spent leaves, and fertilize lightly during the growing season. Avoid overwatering, as soggy soil can weaken the plant’s structure.
Check out our latest article for more insights, and follow us on Facebook for updates! and connect with us on Instagram, Pinterest, and YouTube for more inspiration!
By : Mark


